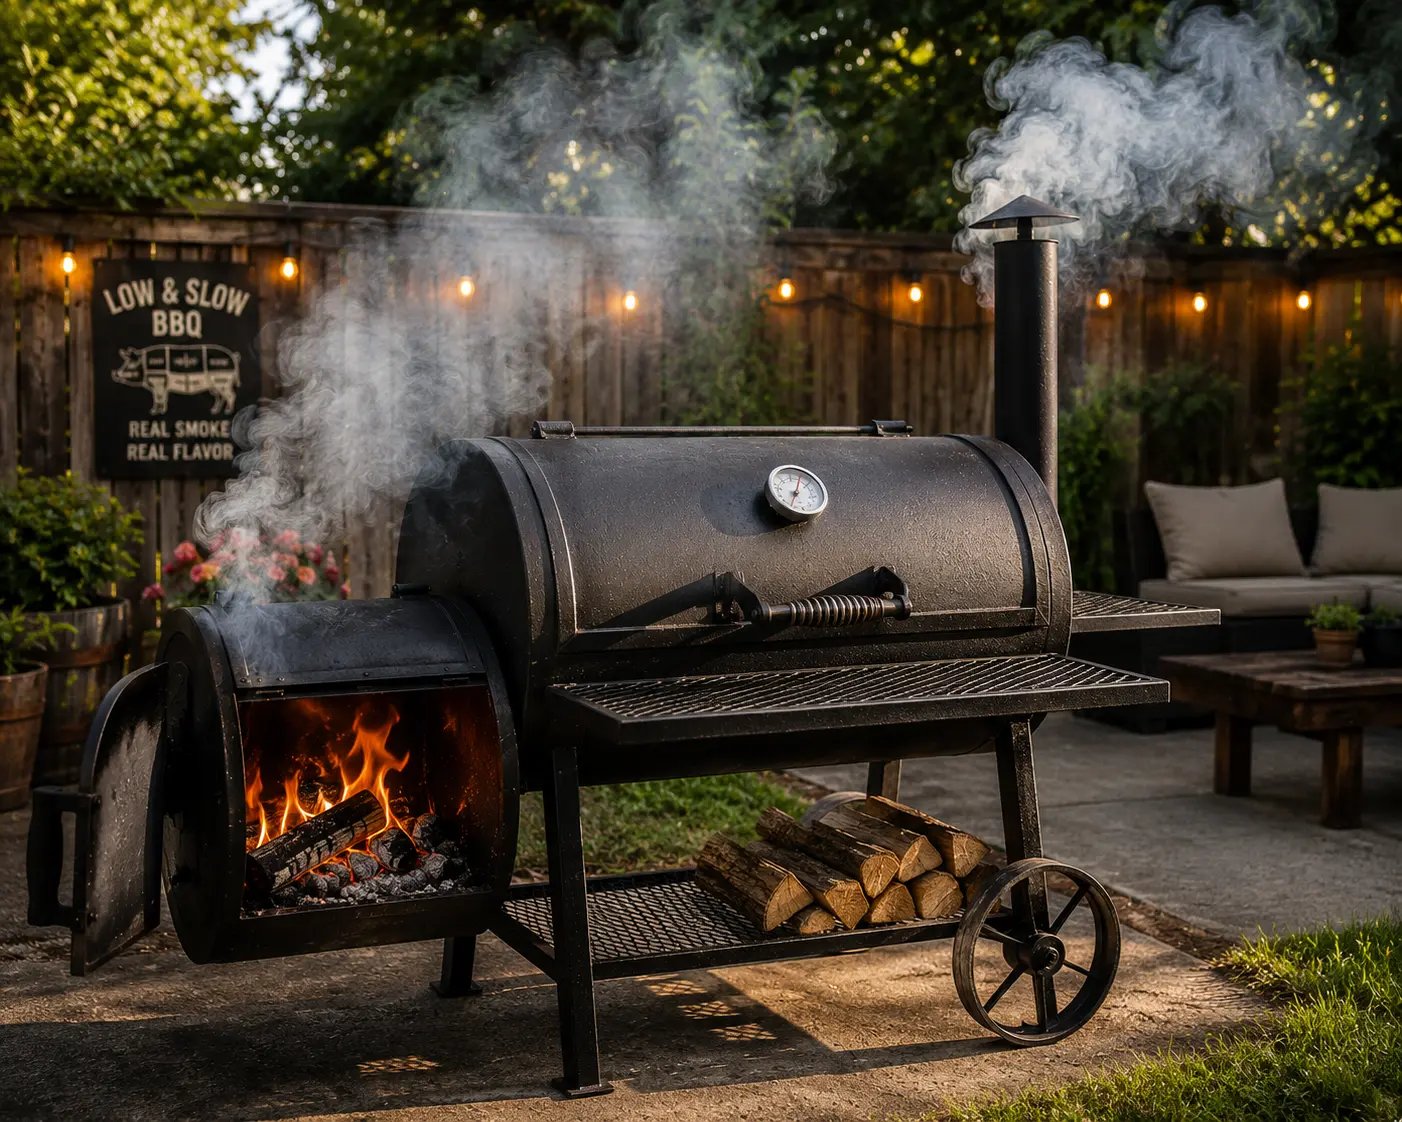
Learning smoking with an offset smoker for beginners can seem challenging at first, but it quickly becomes one of the most rewarding ways to cook authentic barbecue. Unlike pellet grills or gas smokers that automate much of the process, an offset smoker gives you complete control over the fire, airflow, and smoke. Although it requires more attention, it also produces the rich wood-fired flavor and beautiful bark that many pitmasters consider impossible to match with other smokers.
Every successful barbecue starts with understanding how an offset smoker works. Instead of cooking directly over flames, the fire burns inside a separate firebox while heat and clean smoke travel through the cooking chamber before exiting the chimney. This indirect cooking method slowly renders fat, breaks down connective tissue, and fills the meat with deep smoky flavor without burning the exterior.
Many beginners struggle during their first few cooks because they chase exact temperatures, overload the fire with wood, or constantly open the lid to check the food. Fortunately, these mistakes are easy to avoid once you understand the basic principles of fire management and airflow.
This guide explains everything you need to know before your first cook, including choosing the right smoker, building a clean fire, selecting hardwood, controlling temperature, and avoiding the most common beginner mistakes. By the end, you’ll have the confidence to smoke brisket, pork shoulder, chicken, and other barbecue favorites with consistent results.
To use an offset smoker successfully, build a charcoal base, add seasoned hardwood splits, keep the cooking temperature between 225°F and 275°F, maintain clean blue smoke, and cook using indirect heat until the meat reaches the proper internal temperature. Small fire adjustments produce better results than large changes.
How an Offset Smoker Works
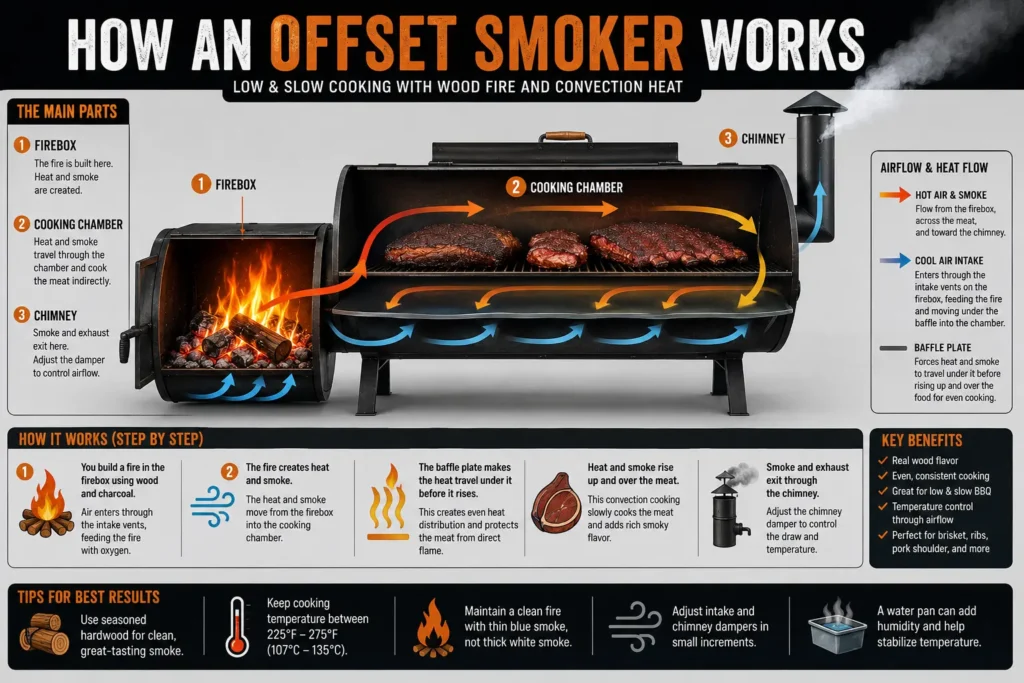
Before lighting your first fire, it’s important to understand how an offset smoker cooks food. Unlike a traditional charcoal grill where the meat sits directly above the fire, an offset smoker separates the fire from the cooking chamber. Heat and smoke travel naturally from the firebox through the cooking chamber before leaving through the chimney.
This indirect cooking style creates a much gentler cooking environment. Instead of exposing meat to direct flames, the hot air slowly circulates around the food while hardwood smoke adds flavor over several hours. The result is tender meat with a smoky bark and juicy interior.
Understanding this airflow also helps explain why fire management is so important. If the fire burns cleanly, the smoke remains light and flavorful. If the fire struggles because of poor airflow or damp wood, thick white smoke develops and can leave the meat tasting bitter.
Choosing Your First Offset Smoker
Buying the right smoker makes learning much easier. While inexpensive models can certainly produce excellent barbecue, heavier construction generally provides more stable temperatures because thick steel retains heat longer.
When shopping for your first offset smoker, look for solid welds, adjustable air vents, durable cooking grates, and enough cooking space for your typical barbecue sessions. A larger firebox is also beneficial because it allows better airflow and makes adding fuel easier during long cooks.
Avoid choosing a smoker based only on cooking capacity. A slightly smaller smoker built from heavier steel often performs much better than a large, thin-metal smoker that loses heat quickly.
For most backyard cooks, a mid-sized offset smoker provides enough room to cook brisket, pork shoulder, ribs, or multiple chickens while remaining easy to manage. Our complete offset smoker buying guide covers specific models and price ranges in more detail if you’re still deciding which smoker to buy.
Understanding the Main Parts of an Offset Smoker
Every offset smoker contains a few essential components, and understanding their purpose makes temperature control much easier.
The firebox is where charcoal and hardwood burn. It supplies both heat and smoke throughout the cook. The cooking chamber holds the food and receives indirect heat from the firebox. The chimney allows smoke and hot air to leave the smoker, creating natural airflow across the meat.
Air enters through the intake vent, feeds oxygen to the fire, passes across the cooking chamber, and exits through the chimney. This continuous airflow is what keeps smoke clean and prevents stale smoke from settling on the food.
The cooking grates, grease drain, thermometer, and dampers all support this process, but the relationship between the firebox, cooking chamber, and chimney is what defines how an offset smoker works.
Beginner Tip: Keep the chimney fully open throughout the cook. Control temperature by adjusting the fire size and intake vent instead of restricting the exhaust. This helps maintain clean smoke and stable airflow.
Seasoning Your Offset Smoker
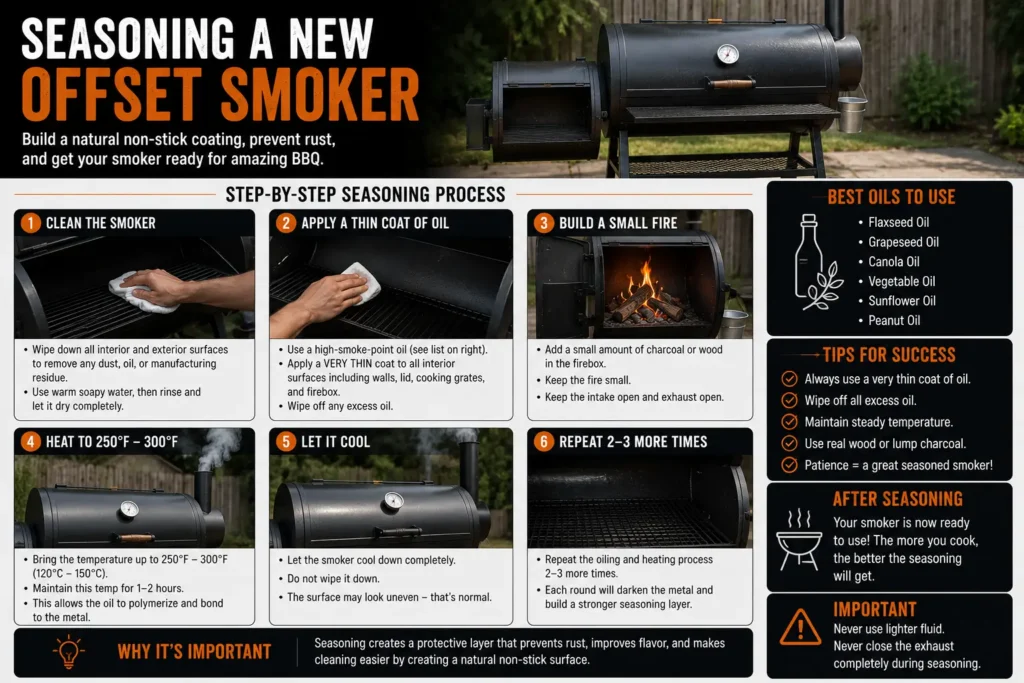
Before cooking food in a brand-new smoker, it should be seasoned properly. Seasoning removes manufacturing oils, burns away residue, and creates a protective coating that helps prevent rust. Our dedicated guide on how to season an offset smoker walks through this process in more detail, but here’s the short version.
Start by cleaning the inside of the smoker with warm water and allowing it to dry completely. Apply a thin coat of high-smoke-point cooking oil, such as canola, grapeseed, or vegetable oil, to all interior metal surfaces except the thermometer.
Build a fire and allow the smoker to reach approximately 300°F. Maintain this temperature for two to three hours while allowing the oil to bake onto the steel. The interior will gradually darken, creating a protective layer similar to seasoning a cast-iron pan.
Repeat this process whenever deep cleaning removes the protective coating or after restoring an older smoker.
Choosing the Right Fuel
One of the most common beginner questions is whether to cook with charcoal, wood, or both.
The easiest approach is to use lump charcoal as the primary heat source while adding seasoned hardwood splits for smoke flavor. Lump charcoal burns hotter and cleaner than briquettes while producing less ash, making airflow easier to maintain.
As your confidence grows, you can gradually transition to cooking primarily with hardwood splits. Many experienced pitmasters eventually rely almost entirely on wood because it produces authentic Texas-style barbecue flavor.
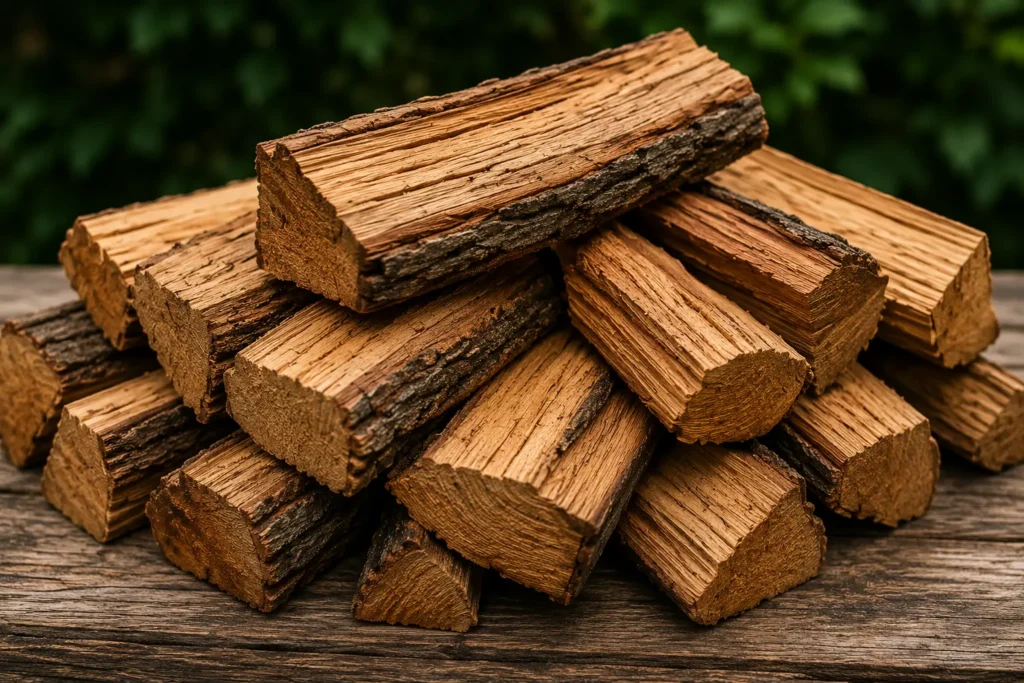
Always use seasoned hardwood that has dried for several months. Properly seasoned wood ignites quickly, burns cleanly, and produces the thin blue smoke associated with great barbecue.
Avoid using painted lumber, pressure-treated wood, plywood, softwoods like pine or cedar, or freshly cut green wood, as these produce unpleasant flavors and potentially harmful smoke. The EPA’s guidance on safe wood burning confirms the same principle for any wood-burning appliance — only burn clean, dry, untreated wood.
The Best Woods for Beginners
Different hardwoods create different flavor profiles. Fortunately, beginners don’t need an extensive wood collection. Starting with one or two reliable hardwoods makes learning much easier.
| Wood | Smoke Strength | Flavor | Best For |
| Oak | Medium | Balanced traditional BBQ | All meats |
| Hickory | Strong | Rich classic smoke | Pork & beef |
| Pecan | Medium | Mild nutty sweetness | Poultry & pork |
| Apple | Mild | Sweet fruity flavor | Chicken & pork |
| Cherry | Mild | Sweet with deep color | Poultry & ribs |
Oak is often considered the best all-purpose hardwood because it burns consistently and complements nearly every type of meat. Apple and cherry provide a lighter smoke that works especially well for chicken and pork, while hickory creates the bold barbecue flavor many people associate with traditional American barbecue.
For beginners, oak combined with a small amount of apple or cherry offers an excellent balance of smoke intensity and flavor.
Building and Managing Your First Fire
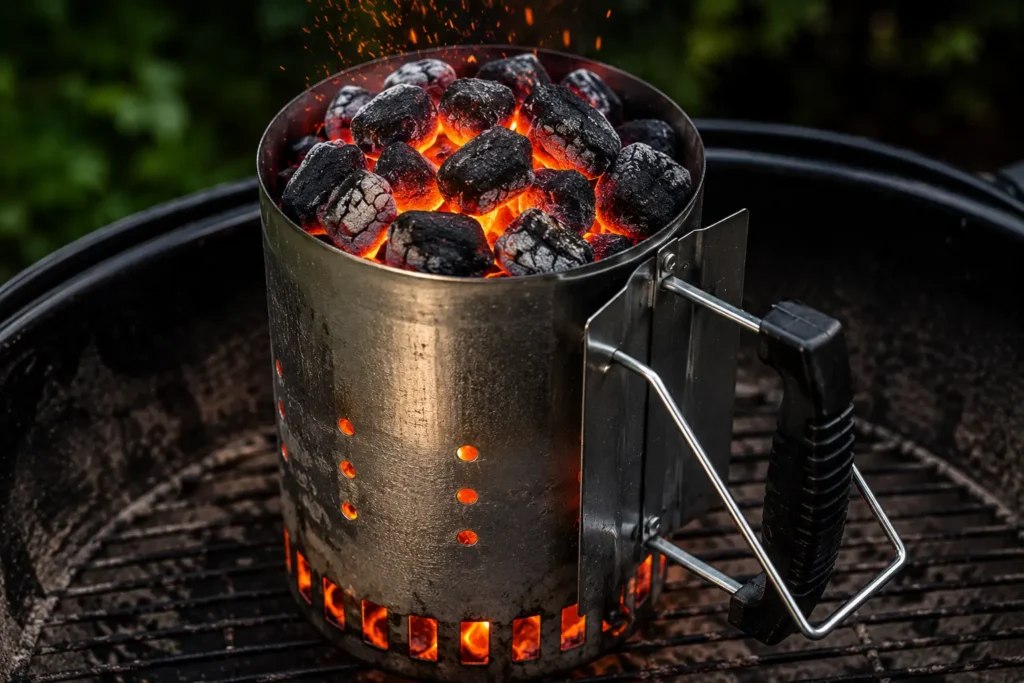
Start with a small bed of fully lit charcoal from a chimney starter, then add one small split of seasoned hardwood. Keep the firebox intake open while the wood catches and allow the smoker to come up to temperature before adding food.
For a clean burn, avoid overloading the firebox. A small, active fire is easier to control than several smoldering logs. Keep the chimney open so heat and smoke can move freely through the cooking chamber, and use small intake adjustments when you need to change the fire’s intensity.
Beginners should focus on maintaining a clean-burning fire rather than constantly chasing an exact thermometer reading. Add fuel gradually and give each adjustment a few minutes to take effect.
For a complete step-by-step explanation of fuel additions, airflow, dampers, and keeping a fire stable through a long cook, see our offset smoker fire management guide.
Preheating the Smoker Properly
One of the biggest mistakes beginners make is placing meat into the smoker before it has stabilized. Cold steel absorbs heat rapidly, causing large temperature swings that make fire management much more difficult.
After lighting your charcoal and adding the first wood split, allow the smoker to preheat for 30 to 45 minutes. During this time the cooking chamber heats evenly, airflow becomes consistent, and the smoke changes from thick white clouds to the thin blue smoke that produces clean barbecue flavor.
Before adding food, verify the grate temperature using a reliable digital thermometer rather than relying only on the built-in lid thermometer. Many factory thermometers can differ significantly from the actual cooking temperature at grate level.
When the smoker maintains 225°F to 275°F for several minutes without major fluctuations, it’s ready for cooking.
Using a Water Pan
A water pan is not mandatory, but many beginners find it helpful because it creates a more forgiving cooking environment.
Water absorbs heat slowly, reducing sudden temperature spikes that often occur after adding fresh fuel. It also increases humidity inside the cooking chamber, which can help prevent lean meats from drying out during longer cooks.
Place the water pan near the firebox or beneath the cooking grate if your smoker design allows. Refill it with hot water, not cold water, to avoid lowering the cooking temperature.
While a water pan contributes moisture to the cooking environment, it should not be viewed as a substitute for proper fire management. Maintaining a clean, stable fire remains the most important factor in producing juicy barbecue.
Positioning the Meat
Because an offset smoker naturally develops hotter and cooler cooking zones, where you place the meat matters.
The area closest to the firebox receives the highest heat, while the opposite end of the cooking chamber remains cooler. Larger cuts such as brisket and pork shoulder generally benefit from being positioned farther from the firebox to reduce the risk of drying out.
Chicken, sausages, and smaller cuts often cook well closer to the warmer side, provided they are monitored carefully. As you become familiar with your smoker, you’ll learn exactly where the hot spots are and how different meats respond.
Avoid overcrowding the cooking grate. Leave enough space around each piece of meat for smoke and heat to circulate evenly.
Maintaining Consistent Heat
Consistent heat is more important than holding one exact number every minute. Small temperature swings are normal in an offset smoker, especially when fuel is added or weather conditions change.
Watch the cooking-chamber thermometer and make small adjustments rather than reacting to every short fluctuation. If the temperature begins moving steadily in one direction, check the fire, airflow, and fuel before making a large correction.
For detailed smoking ranges, meat temperatures, and target temperatures for different foods, see our offset smoker cooking temperature guide.
Monitoring Meat Temperature
While smoker temperature matters, the internal temperature of the meat helps determine when food is safely cooked and ready to check for doneness.
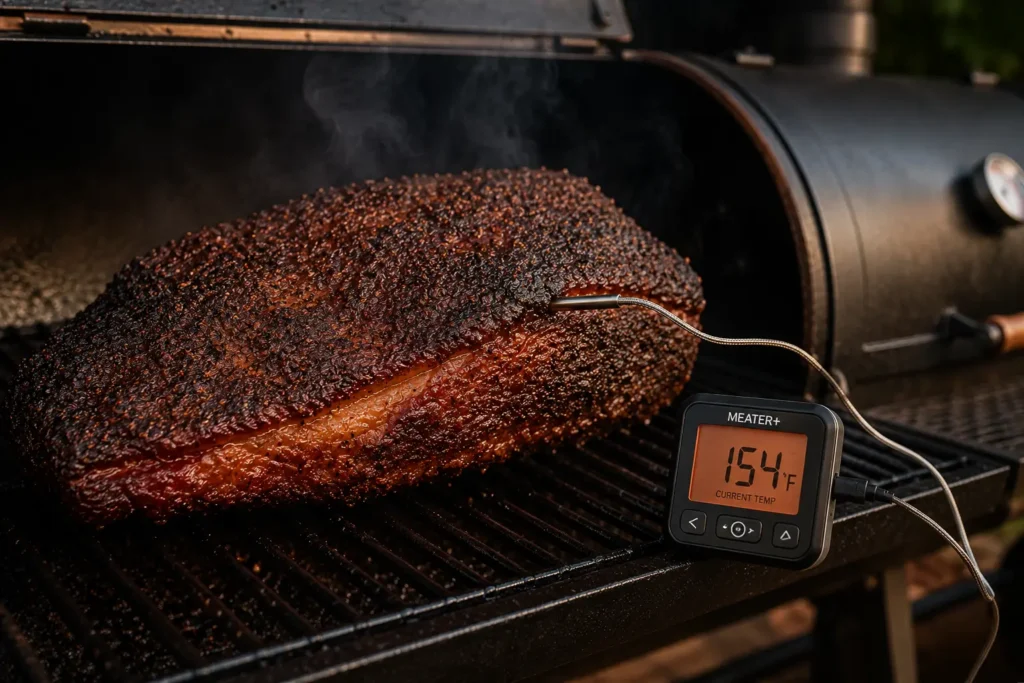
A dual-probe digital thermometer is useful for beginners because one probe can monitor the cooking chamber while the other tracks the meat without repeatedly opening the smoker.
For poultry, follow the USDA’s minimum safe internal temperature for poultry before serving. For larger barbecue cuts such as brisket and pork shoulder, temperature is useful as a guide, but tenderness should also be checked before removing the meat from the smoker.
For detailed target temperatures for different meats, see our offset smoker cooking temperature guide.
Rotating Meat During Long Cooks
Even well-built offset smokers have natural hot spots. Rotating larger cuts during extended smoking sessions helps ensure even cooking and bark development.
For brisket or pork shoulder, rotating the meat every two to three hours is usually sufficient. This exposes every side to similar heat and smoke over the course of the cook.
Smaller items such as chicken pieces or ribs may require little or no rotation depending on the smoker’s heat pattern. As you gain experience with your own smoker, you’ll learn exactly when rotation is beneficial.
Each time you open the lid, work efficiently. Make any necessary adjustments quickly before closing the smoker to minimize heat loss.
Resting the Meat
Resting is one of the most overlooked steps in barbecue, yet it has a significant impact on tenderness and juiciness.
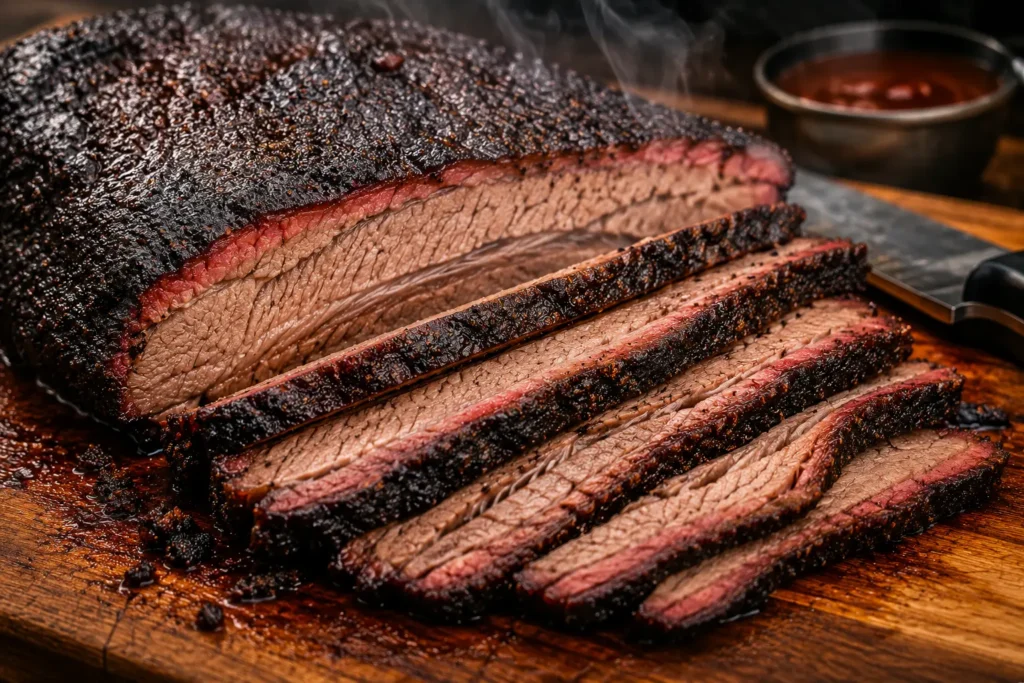
After removing the meat from the smoker, allow it to rest before slicing or shredding. During this time the juices redistribute throughout the meat instead of spilling onto the cutting board.
The appropriate resting time depends on the cut: Chicken: 10–15 minutes Ribs: 10–20 minutes Pork shoulder: 30–60 minutes Brisket: 1–2 hours
Larger cuts can be wrapped and held inside an insulated cooler or warm oven to maintain serving temperature while they rest.
Cleaning and Maintaining Your Offset Smoker
Routine maintenance keeps your smoker performing efficiently and extends its lifespan.
After every cook, remove ash from the firebox once it has completely cooled. Ash absorbs moisture and can accelerate rust if left inside the smoker.
Brush the cooking grates while they are still slightly warm to remove food residue. Wipe away grease buildup when necessary, but avoid stripping away the dark protective seasoning inside the cooking chamber.
Periodically inspect door seals, hinges, dampers, and thermometers to ensure everything operates smoothly. Applying a light coat of cooking oil to the interior after cleaning helps protect the steel and maintain its seasoned surface.
A well-maintained offset smoker not only lasts longer but also produces more consistent cooking results.
Pro Tip: Store your offset smoker under a weather-resistant cover whenever it is not in use. Keeping rain and humidity away from the steel is one of the easiest ways to prevent rust and extend the life of your smoker.
Frequently Asked Questions
Yes. Many experienced pitmasters cook entirely with seasoned hardwood. However, beginners often find it easier to build a stable charcoal base first and then maintain the fire with hardwood splits.
No. Dry, seasoned wood burns cleaner than soaked wood. Wet wood produces steam and thick white smoke rather than the clean combustion needed for high-quality barbecue.
Chicken thighs, chicken quarters, pork ribs, and pork shoulder are excellent beginner choices because they are more forgiving than brisket and still produce outstanding barbecue.
What Beginners Should Focus On First
Learning to smoke with an offset smoker is less about memorizing complicated techniques and more about understanding a few core principles. A clean-burning fire, steady airflow, seasoned hardwood, and patience are the foundation of every successful barbecue cook. Once you become comfortable managing these elements, you’ll find that an offset smoker delivers a depth of flavor that few other cooking methods can match.
Don’t worry if your first few cooks aren’t perfect. Every barbecue session teaches you something new about your smoker’s heat patterns, fuel consumption, and airflow. With practice, tasks that once felt challenging—such as maintaining temperature, reading the smoke, and timing fuel additions—become second nature.
As your confidence grows, you’ll be ready to tackle more advanced recipes like our offset smoker brisket recipe, beef ribs, turkey, and whole chickens. The skills covered in this guide provide the foundation for every future cook, helping you produce consistently tender, flavorful barbecue while enjoying the rewarding process of cooking with a traditional offset smoker.